In this blog series, I'll be documenting how I tried experimenting with Kubernetes (K8s) management and deployment using Rancher in the demo environment by OpenSUSE.
In this article, I'll be explaining how I set up the multi-node Cluster using Rancher on the prepped one KVM environment.
Why Rancher?
In cloud-native, we can see that Kubernetes is everywhere but very complex and hard to manage. The DevOps team needed something that could abstract away the complexity of Kubernetes and make it easier for users to interact with and manage their containerized applications. That's where the Rancher came into the picture!
What is Rancher?
The official definition goes like "Rancher is an open-source container management platform built for organizations that deploy containers in production. Rancher makes it easy to run Kubernetes everywhere, meet IT requirements, and empower DevOps teams."
Imagine a big field with lots of sheep all peacefully grazing. In the distance, a shepherd attentively guides the flock, ensuring they stay safe and well-managed. Rancher oversees clusters of containers, efficiently managing their deployment and performance across computing resources, much like a shepherd tends to their sheep."
Clusters/ Teams without Rancher:

Clusters/Teams with Rancher:

Note: Beginners may confuse Kubernetes with Rancher. The main distinction is that Kubernetes manages a cluster of containers, but Rancher manages Kubernetes clusters. Rancher does this in a simple complete and centralized manner.
Rancher can manage cloud-based Kubernetes clusters such as Google Kubernetes Engine. (GKE), Azure Kubernetes Service (AKS) and Amazon EKS, as well as Kubernetes clusters deployed on-premises with any CNCF-certified Kubernetes distribution, such as Rancher Kubernetes Engine(RKE).
Instead of localhost or any cloud provider, I am using KVM provided by OpenSUSE to set up the Rancher UI and configure the VMs.
To host Rancher in a multi-node cluster, I am using a Kernel-based Virtual Machine (KVM) running on an openSUSE Leap 15 Linux host system. KVM is a free and open-source virtualization solution that allows the Linux kernel to function as a hypervisor and host one or more virtual machines..
In my case, I have two VMs managed by KVM.
i. Prepped one - The VM is running OpenSUSE leap15 and has Docker installed.
ii. Configured one -
Installing Rancher in a KVM.
Open your shell terminal and log in to VM A with the SSH command.
ssh geeko@172.16.220.x, where “geeko” is my username and “172.16.220.94” is the IP address of my KVM.
Now, inside your KVM You need to install Rancher, using the following docker command to install it and wait for some time, This will starts a Rancher server instance in a Docker container, making it accessible on ports 80 and 443 of the KVM.
NOTE:*This may take some time to run*.
  docker run -d --restart=unless-stopped \
    -p 80:80 -p 443:443 \
    --privileged \
    rancher/rancher:latest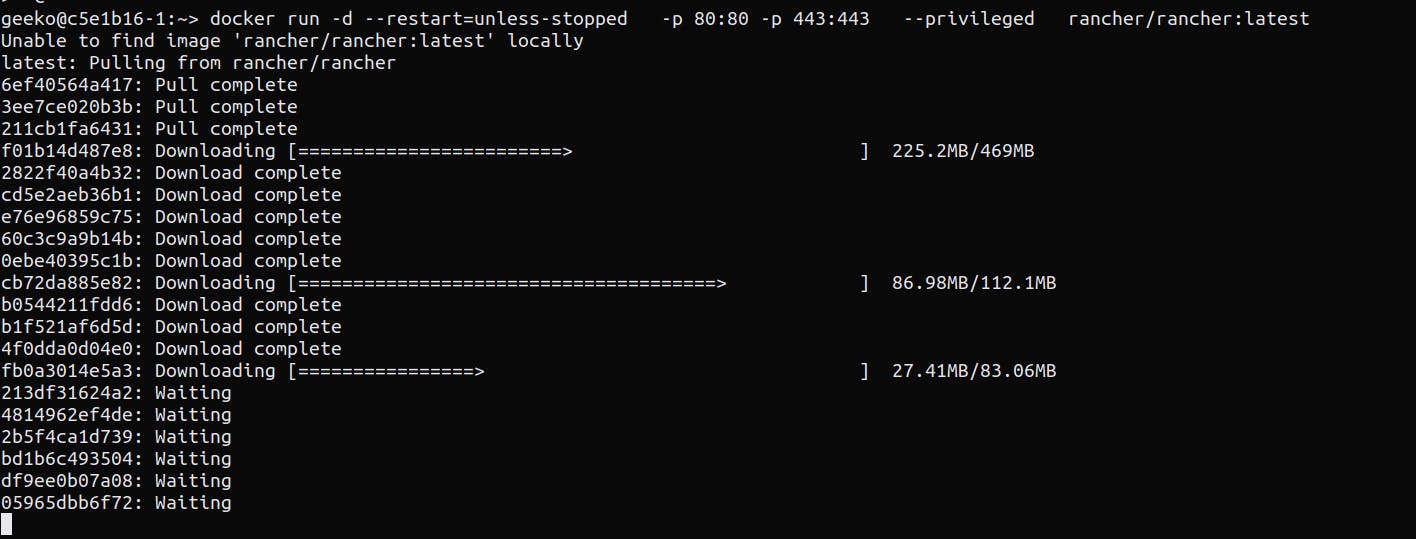
Now open a web browser and navigate to the IP Address of KVM, for my case, it is "172.16.220.94", You'll see the "Welcome to Rancher Page". Copy the `
docker logs container-id 2>&1 | grep "Bootstrap Password" command.
Then open your host terminal where you have logged in the KVM in step 1 and paste the copied command inside it. Remember to run the "docker ps" command to get the container ID and put the container ID in the copied command.
Now, Copy the Bootstrap password and go back to the Rancher UI and "login with local user User", You'll be asked to set the password.

🎉Time to Celebrate! The Rancher has been set up in your KVM.

Get back now, The work is not finished yet.
Setting Up VM in the KVM
I'll explain step by step below to set up the VM and the mistakes to avoid.
Inside your KVM in your host terminal, You can use these commands
  cd ~geeko/bin/v-i
       - sudo ./viDeployVM -c ./<VM-choice>.cfg -n <vmname>
 #you can also edit the resource you need in the vm by editing the config file.
- where
*VM-choice ->*VM-K3s*or VM-RKE1 or VM-RKE2*
vmname -> matching entry to VM-choice ( e.g. like in KVM
cat /etc/hosts)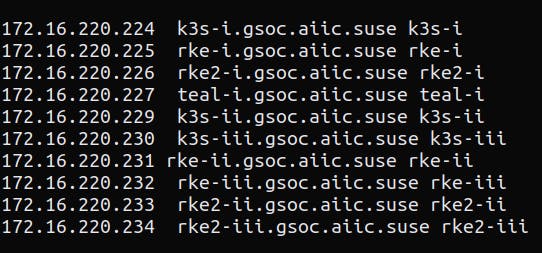
One of the mistakes that I made here was I set the vmname to
k3s-iwhile it was running in another KVM host and it was creating trouble in configuring the network I got feedback to use thek3s-iiork3s-iii.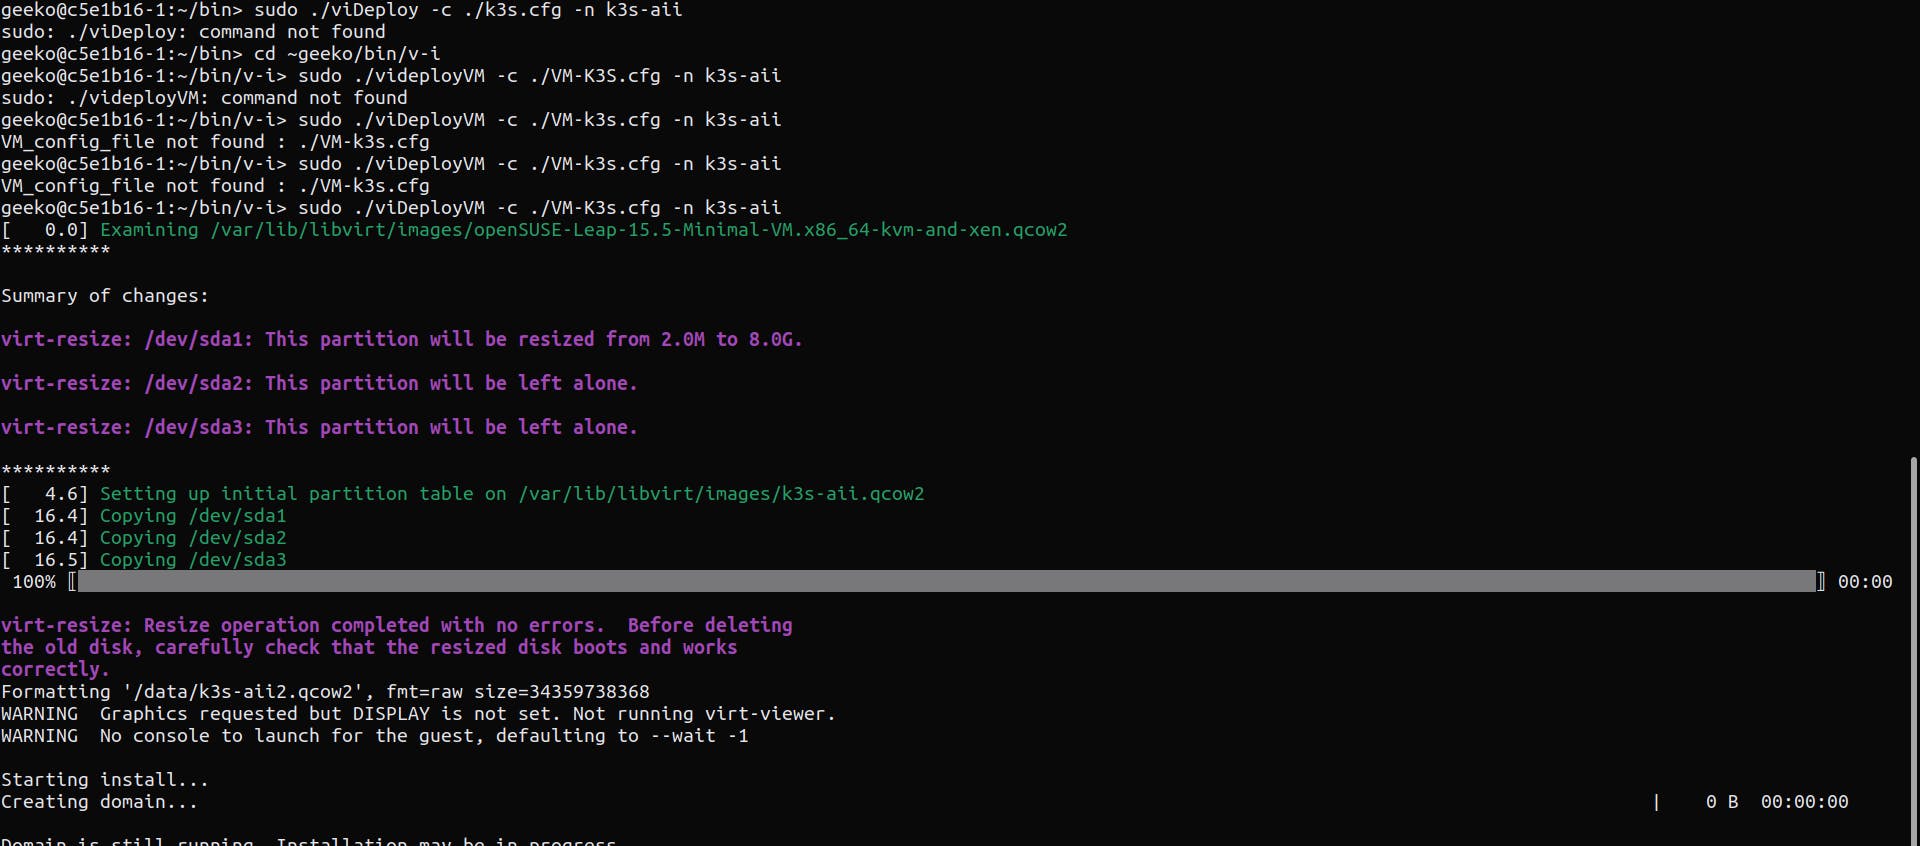
You have your VM Running now, To check open the web browser and go to your virt manager "172.16.220.x:5801". Enter the username and password provided to you. Follow the steps to see in the graphical UI below if your cluster is VM is running or not.
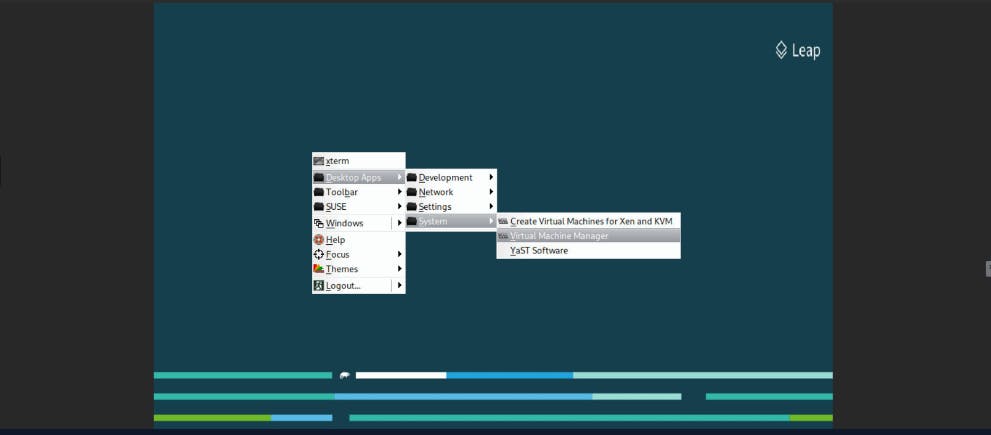
You can see something like this if your VM is running. If not, get ready to find the problems and stay patient.

You have achieved the 2nd milestone of getting your VM running. Again, time to congratulate yourself 🎉
Now, my human recommendation would be to grab a glass of water, because you are going to type in a lot of things manually to configure it.
Configuring the VM
- To configure the VM, double-click on the VM, and in the graphics console answer inputs (defaults are fine).
`Select keyboard layout -> us / OK

Accept License Agreement -> Exit / Yes

Select time zone -> UTC / OK

Enter root password ... suggest consistent ( **** ) / OK`
Install the required packages using the following commands (typing manually 😀) in the terminal-like interface right after you are logged in.

  - zypper ref
          - zypper in -y open-iscsi kernel-default e2fsprogs xfsprogs apparmor-parser
          - in addtion, only for RKE1 VMs  #This is especifically for RKE1 VMs.
              zypper in -y docker
          - Enable needed services
              - systemctl enable --now iscsid
              - only for RKE1 VMs
                  systemctl enable --now docker
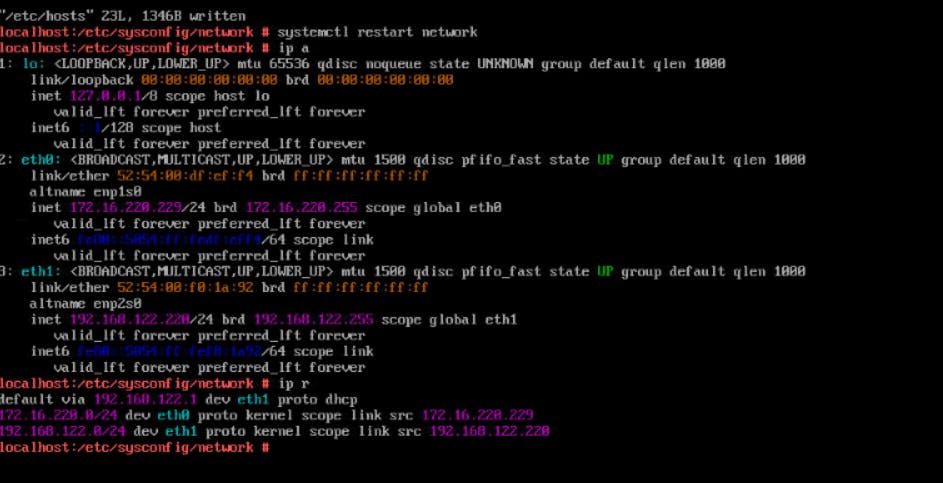
- Now follow the commands below to manage the network inside your VM.
cd /etc/sysconfig/network
              - cp ifcfg-eth1 ifcfg-eth0
              - vi ifcfg-eth0
# In the VI editor, make sure you have the text in the format.
 STARTMODE=auto
 BOOTPROTO=static
 IPADDR=172.16.220.x/24_
In the VI terminal change the
ifcfg-eth0according to the key value pairs above and one thing to note is that You have to add the IPADD of the VMname that you chose while setting up the VM, In my case, I chose the value of vmname ask3s-aii, You can find the respective VM IPADD by using the commandetc/hosts/in your KVM terminal and exit from the VI editor.The next step is to use the command
systemctl disable --now firewalldto configure firewalls.Configure FQDN using the command
hostnamectl set-hostname vmname( from KVM /etc/hosts ).Restart the network configuration using the command
systemctl restart networkand you are all set now.Run the commands to validate the settings.
ip aip r
Now we'll create a k3s cluster in Rancher and add some nodes. We'll click the create button in the Rancher Dashboard and create a custom cluster.
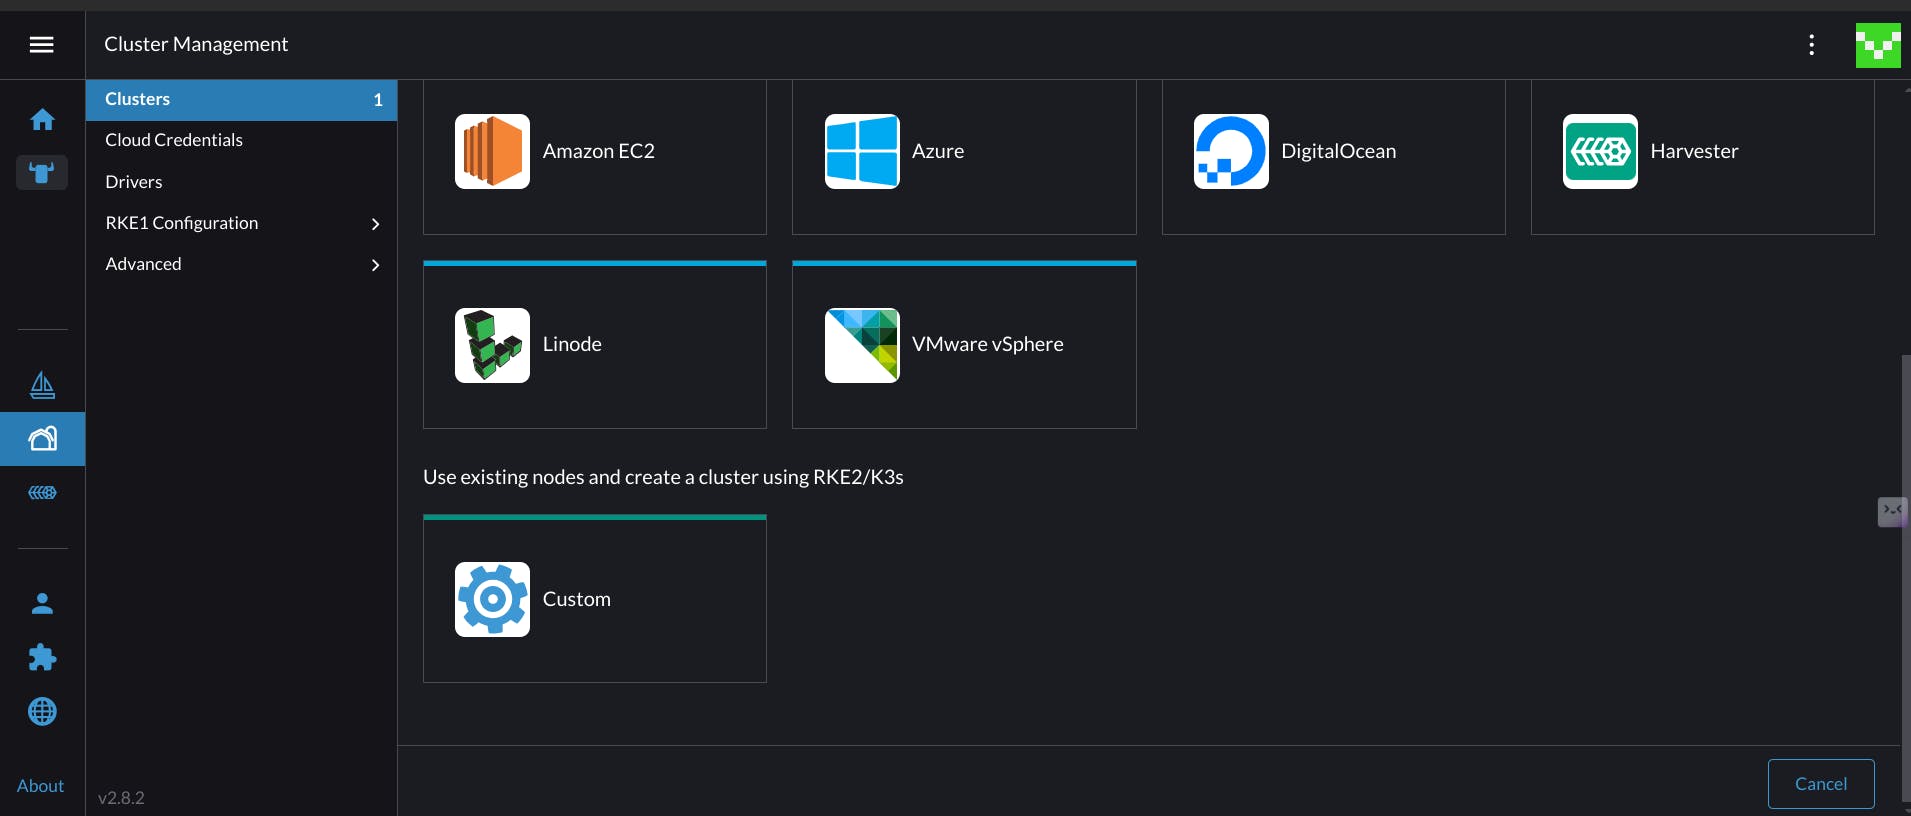
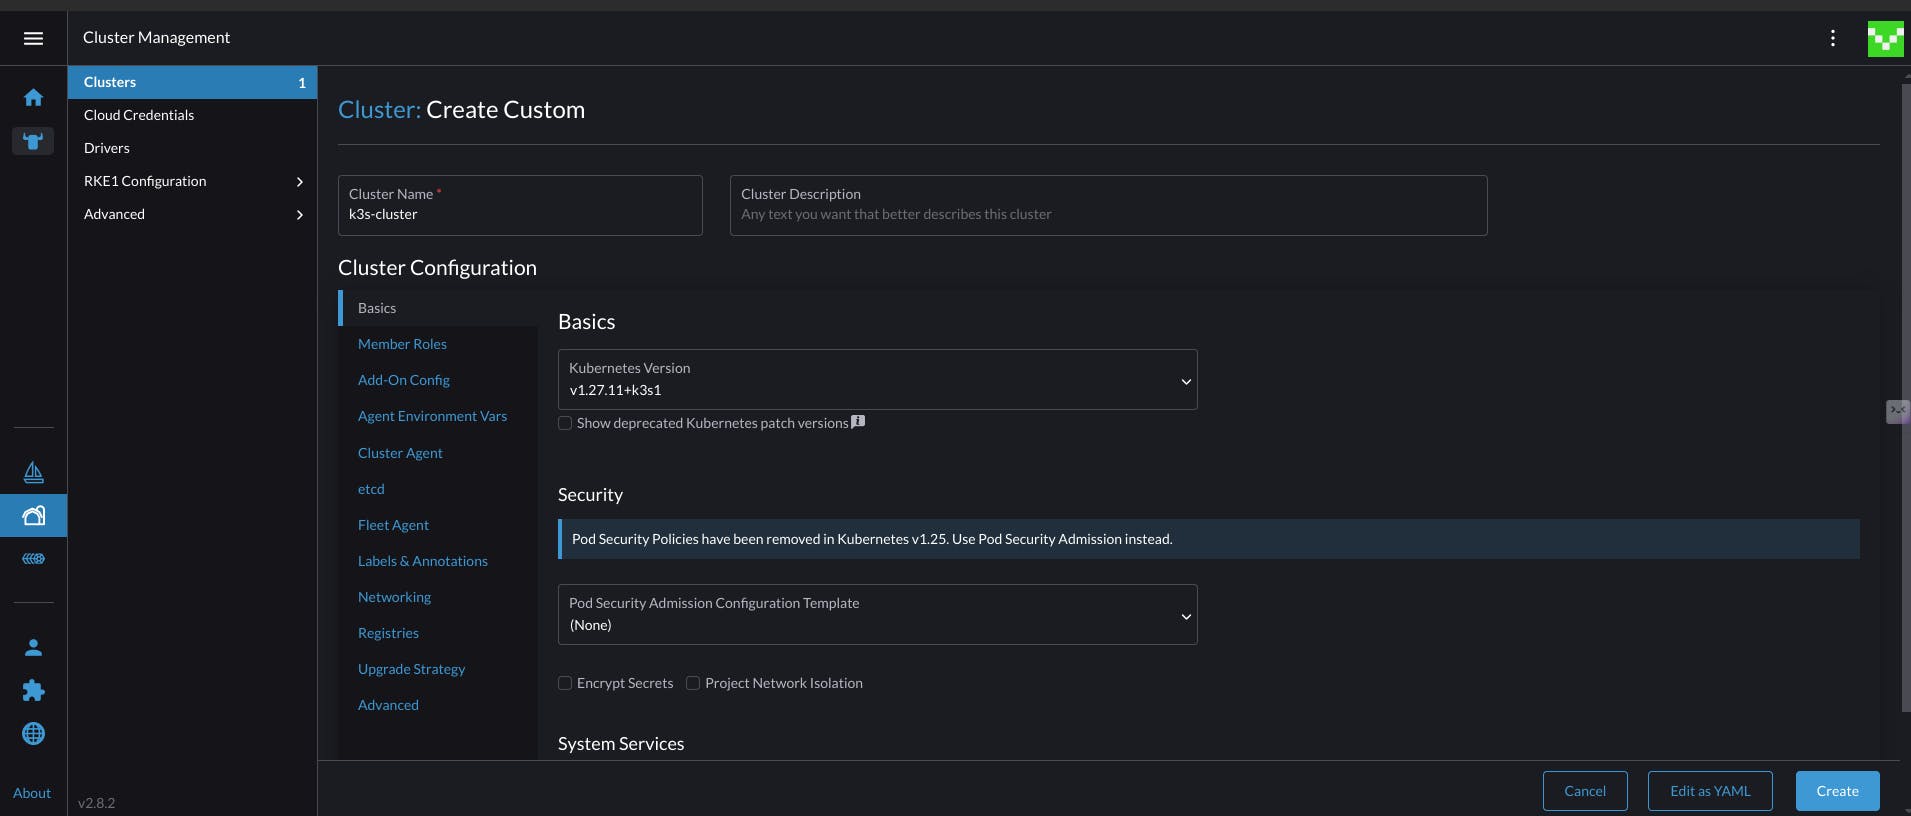
- We'll choose the name and type of the cluster in this case, we are using k3s v1.27.11.

we'll choose the roles we want to add to our nodes, click the insecure checkbox, copy the registration command in step II, and paste it into our VM.


As you can see Kubectl is working in our node and our cluster is showing in the Rancher Dashboard.
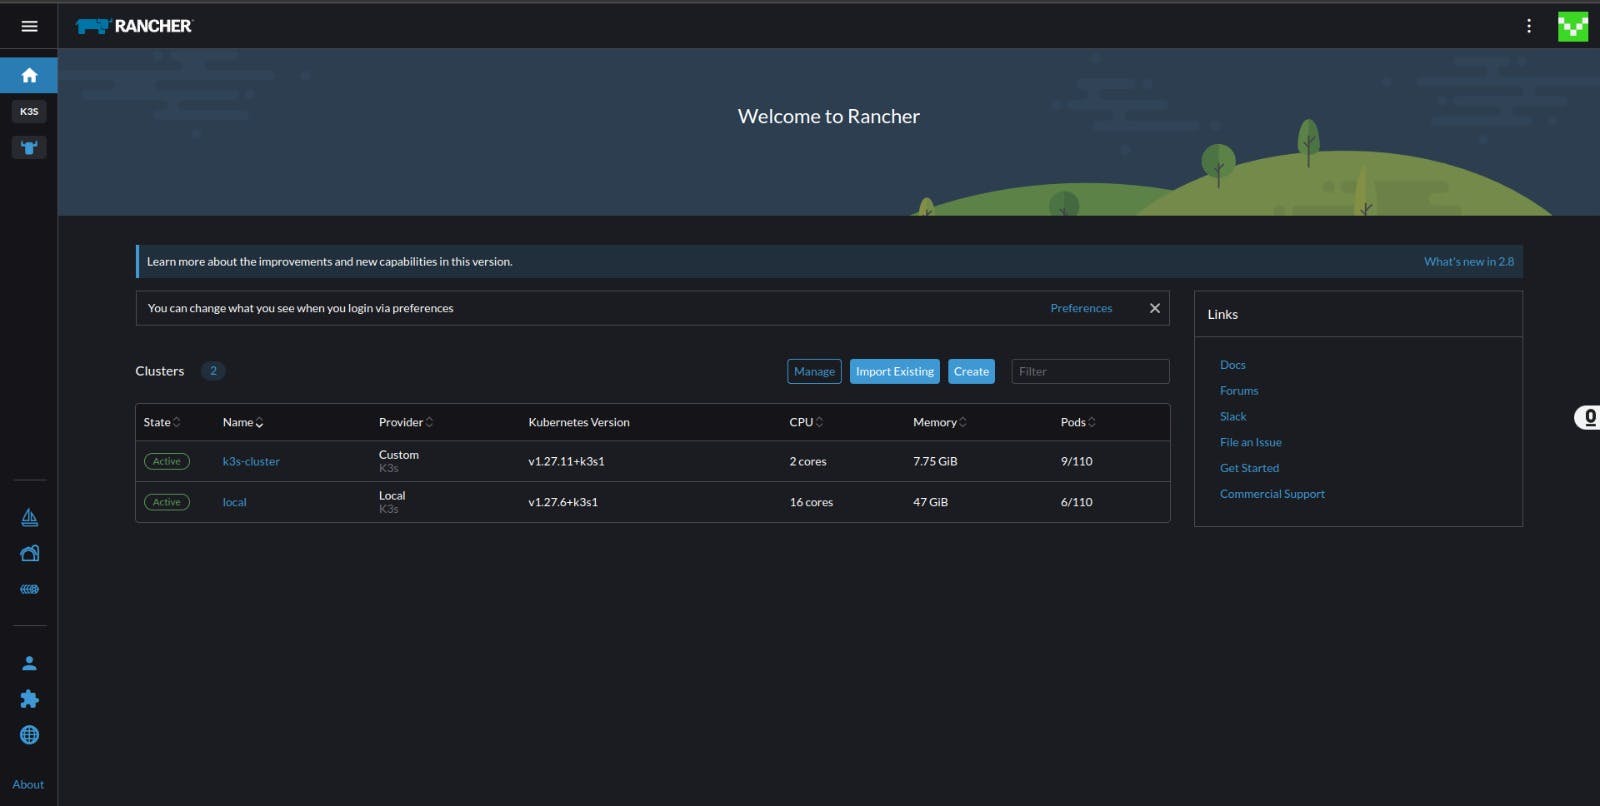
By following the same steps, create and configure one more VM and I'll see you in the next Blog for installing Longhorn.
Thanks for reading the blog, hope it helps.
